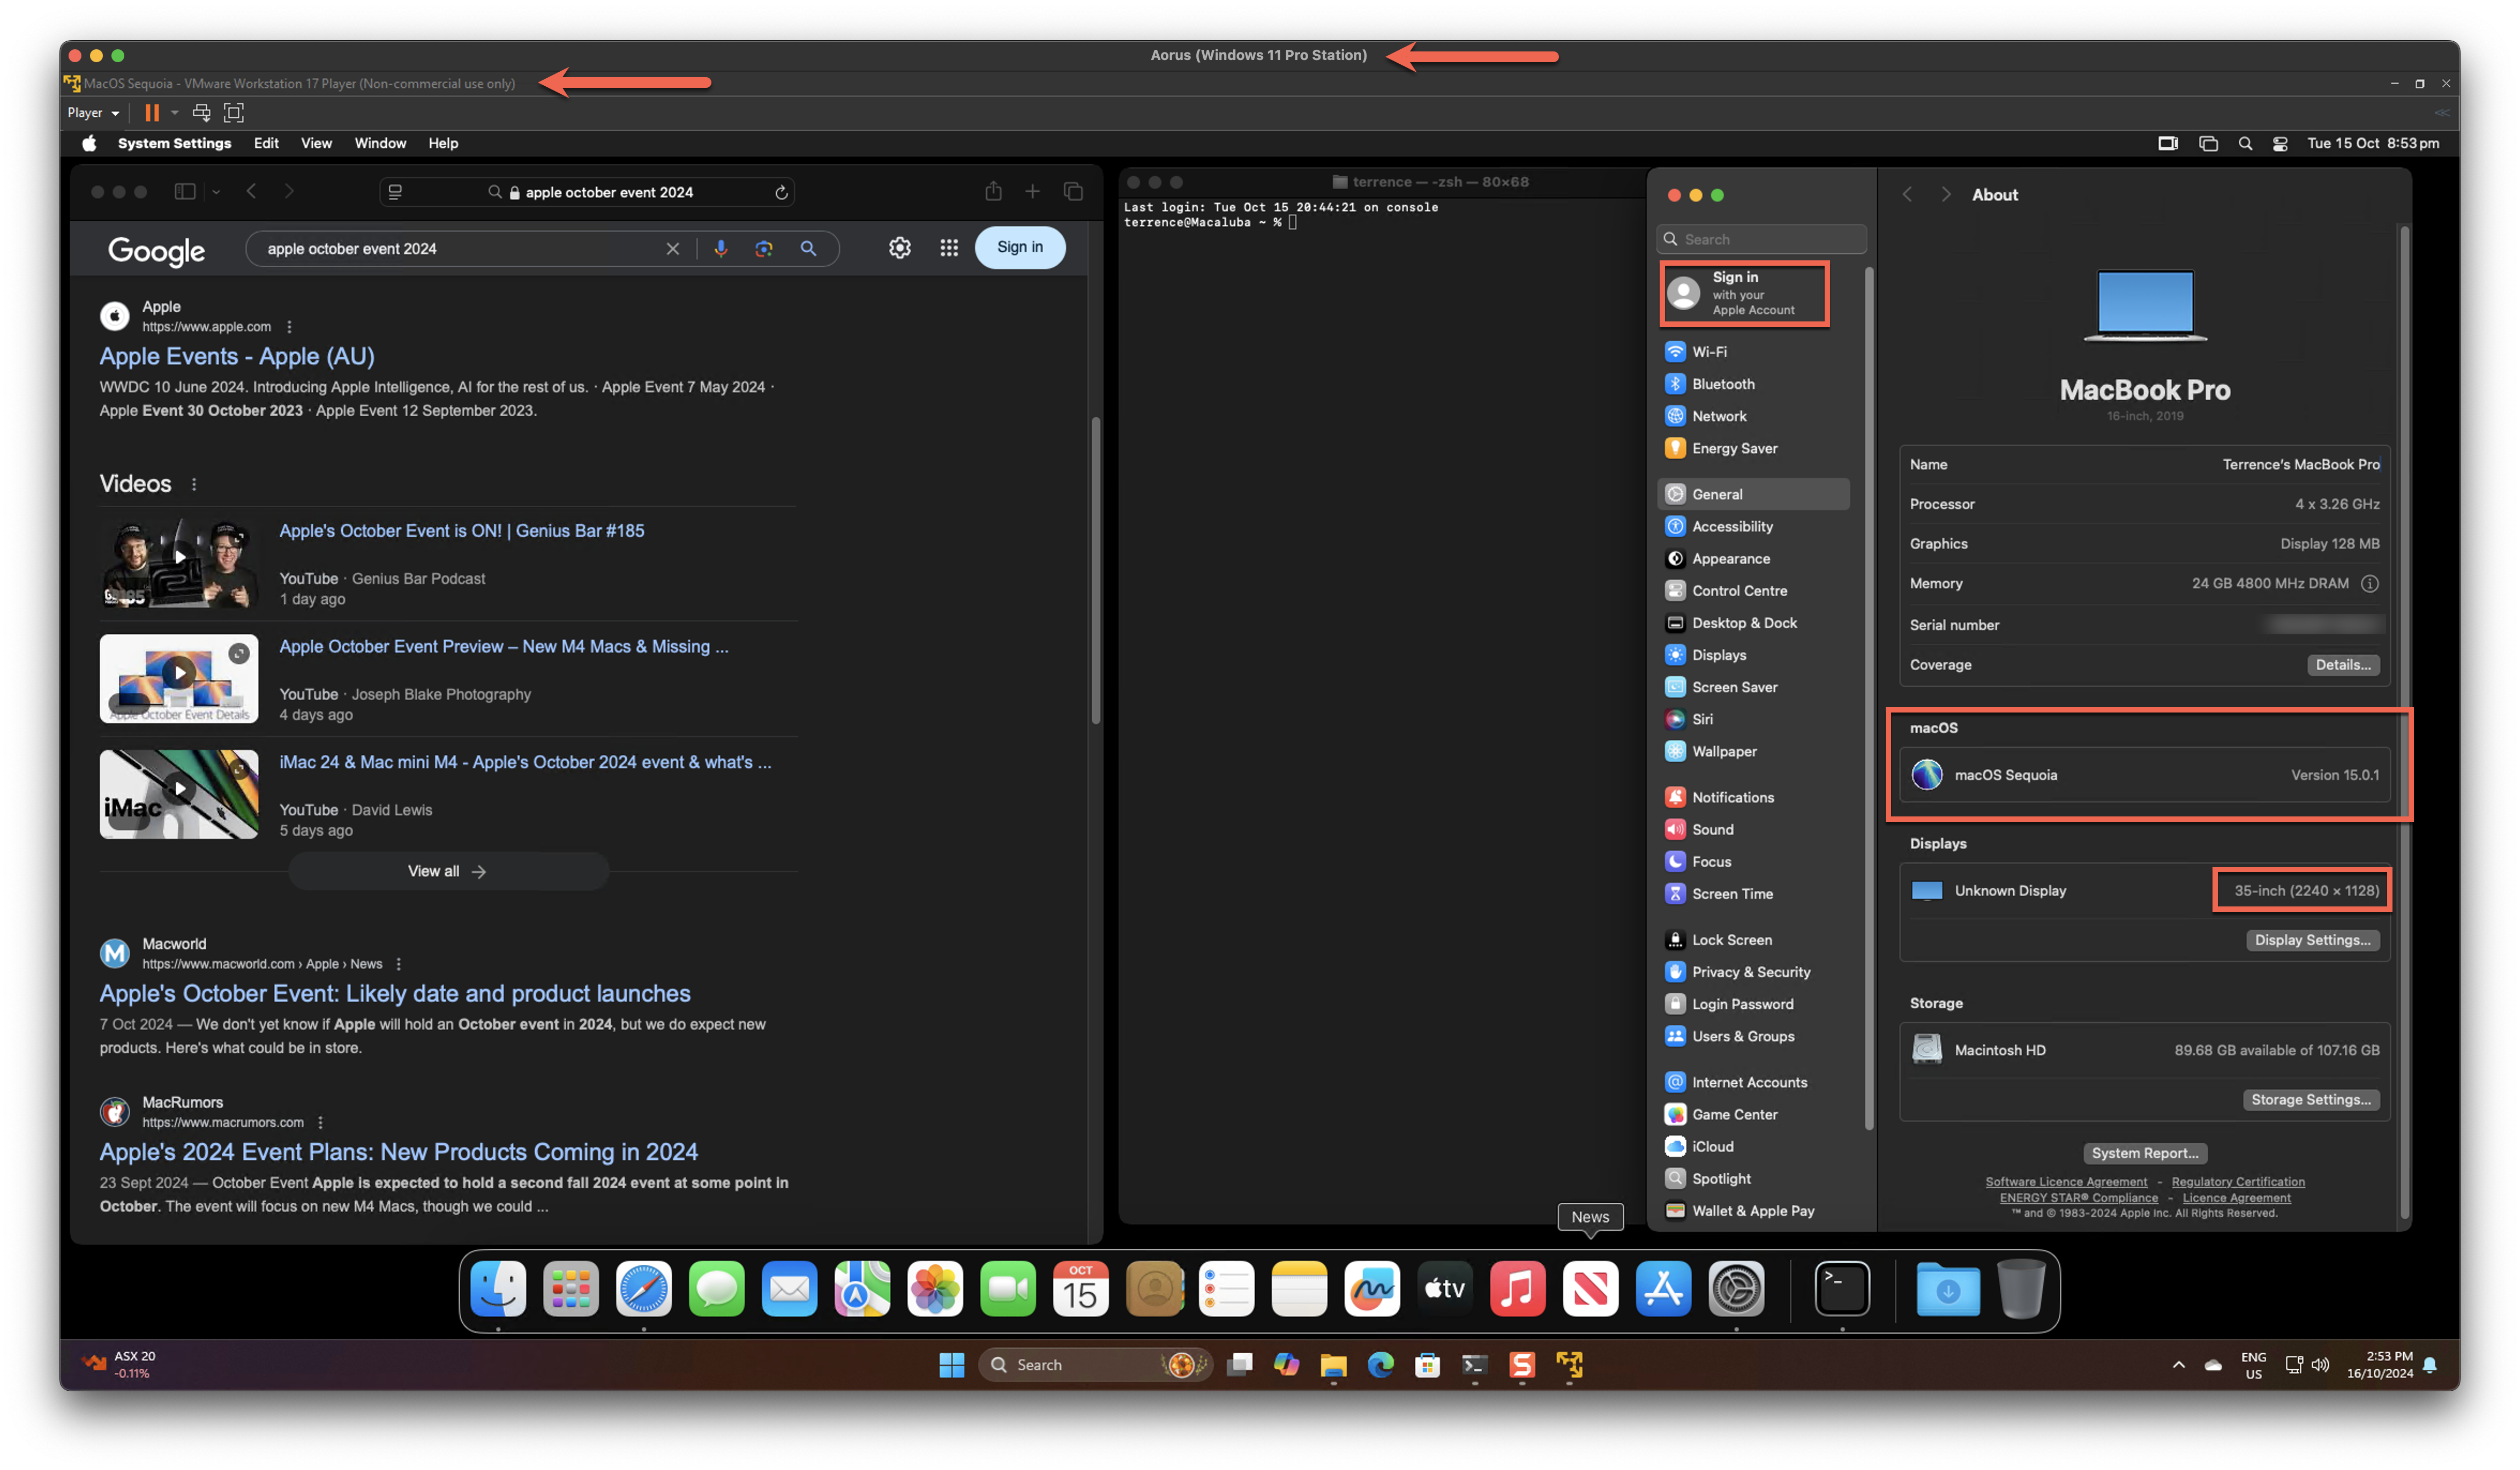
This is the step by step guide, the fastest and easiest way install and run latest MacOS Sequoia 15.0.1 in VMware Workstation Pro on Windows 11.
Due to MacOS Sequoia has added detection whether OS is running in Virtual Machine, so it’s better install MacOS Sonoma at first, then upgrade to latest version MacOS Sequoia.
Build a bootable MacOS ISO image
Do it on a Mac.
Clone gibmasOS repo https://github.com/corpnewt/gibMacOS
1
2
3
4
5
6
7
8
9
10
11
12
13
14
15
16
17
18
19
20
21
22
23
24
25
26
27
28
29
30
31
32
33
34
35
36
37
38
39
40
41
42
43
44
45
46
47
48
49
50
51
52
53
54
$ ./gibMacOS.command ####################################################### # gibMacOS # ####################################################### Available Products: 1. macOS Sequoia 15.0.1 (24A348) - 072-01382 - Added 2024-10-03 21:26:40 - 14.48 GB 2. macOS Ventura 13.7 (22H123) - 062-78643 - Added 2024-09-16 17:44:05 - 12.22 GB 3. macOS Sonoma 14.7 (23H124) - 062-78824 - Added 2024-09-16 17:42:25 - 13.68 GB 4. macOS Sequoia 15.0 (24A335) - 062-78429 - Added 2024-09-16 17:30:21 - 14.48 GB 5. macOS Monterey 12.7.6 (21H1320) - 062-40406 - Added 2024-08-14 20:45:56 - 12.42 GB ... 24. macOS High Sierra 10.13.6 (17G66) - 041-91758 - Added 2019-10-19 18:19:55 - 5.71 GB 25. macOS Mojave 10.14.6 (18G103) - 061-26589 - Added 2019-10-14 20:51:08 - 6.52 GB 26. macOS Mojave 10.14.5 (18F2059) - 061-26578 - Added 2019-10-14 20:38:26 - 6.52 GB M. Change Max-OS Version (Currently 12) C. Change Catalog (Currently publicrelease) I. Only Print URLs (Currently Off) S. Set Current Catalog to SoftwareUpdate Catalog L. Clear SoftwareUpdate Catalog R. Toggle Recovery-Only (Currently Off) U. Show Catalog URL Q. Quit Please select an option: 3 Downloading InstallAssistant.pkg for 062-78824 - 14.7 macOS Sonoma (23H124)... 1.35 GB/14.48 GB | = 9.34% | 101.7 MB/s | 00:02:10 left Succeeded: InstallAssistant.pkg MajorOSInfo.pkg com_apple_MobileAsset_MacSoftwareUpdate.plist InstallInfo.plist UpdateBrain.zip Failed: None Files saved to: /Users/terrence/Projects/gibMacOS/macOS Downloads/publicrelease/062-78824 - 14.7 macOS Sonoma (23H124)
Run InstallAssistant.pkg from above MacOS download directory. It will be using to build ISO image.
Create a disk image with size 16GB:
1
2
$ hdiutil create -o /tmp/MacOS -size 16000m -volname MacOS -layout SPUD -fs HFS+J created: /tmp/MacOS.dmg
Mount the disk image created above:
1
2
3
4
$ hdiutil attach /tmp/MacOS.dmg -noverify -mountpoint /Volumes/MacOSISO /dev/disk6 Apple_partition_scheme /dev/disk6s1 Apple_partition_map /dev/disk6s2 Apple_HFS /Volumes/MacOSISO
Create ISO image from Install masOS app:
1
2
3
4
5
6
7
$ sudo /Applications/Install\ macOS\ Sonoma.app/Contents/Resources/createinstallmedia --volume /Volumes/MacOSISO --nointeraction Erasing disk: 0%... 10%... 20%... 30%... 100% Copying essential files... Copying the macOS RecoveryOS... Making disk bootable... Copying to disk: 0%... 10%... 20%... 30%... 40%... 50%... 60%... 100% Install media now available at "/Volumes/Install macOS Sonoma"
Unmount disk image and convert to an ISO image:
1
2
3
4
5
6
7
8
9
10
11
12
13
14
15
16
17
18
19
20
$ hdiutil detach -force /Volumes/Install\ macOS\ Sonoma "disk6" ejected. $ ls -al /tmp/MacOS.dmg -rw-r--r--@ 1 terrence wheel 16777216000 15 Oct 21:54 /tmp/MacOS.dmg $ hdiutil convert /tmp/MacOS.dmg -format UDTO -o /tmp/MacOS-Sonoma-14.7.cdr Reading Driver Descriptor Map (DDM : 0)… Reading Apple (Apple_partition_map : 1)… Reading (Apple_Free : 2)… Reading disk image (Apple_HFS : 3)… ........................................ Elapsed Time: 19.139s Speed: 835.9MB/s Savings: 0.0% created: /tmp/MacOS-Sonoma-14.7.cdr $ mv /tmp/MacOS-Sonoma-14.7.cdr /tmp/MacOS-Sonoma-14.7.iso $ rm /tmp/MacOS.dmg
Install VMware Workstation Pro
Download VMware Workstation Pro from e.g. https://softwareupdate.vmware.com/cds/vmw-desktop/ws/17.6.1/24319023/windows/core/VMware-workstation-17.6.1-24319023.exe.tar
Patch VMware Workstation Pro
Clone unlocker https://github.com/paolo-projects/unlocker Apple macOS option in VMware Workstation Pro:
1
2
3
4
5
6
7
8
9
10
11
12
13
14
15
16
17
18
19
PS C:\Projects\unlocker> .\win-install.cmd Unlocker 3.0.2 for VMware Workstation ===================================== (c) Dave Parsons 2011-18 Set encoding parameters... Active code page: 850 VMware is installed at: C:\Program Files (x86)\VMware\VMware Workstation\ VMware product version: 17.6.1.24319023 Stopping VMware services... ... Starting VMware services... Finished!
Copy darwin.iso and darwinPre15.iso files extracted from VMware Fusion e.g. _https://softwareupdate.vmware.com/cds/vmw-desktop/fusion/12.2.5/20904517/x86/core/com.vmware.fusion.zip.tar _ into VMware Workstation Pro directory:
1
2
C:\Projects\unlocker\tools\darwin.iso -> C:\Program Files (x86)\VMware\VMware Workstation\darwin.iso C:\Projects\unlocker\tools\darwinPre15.iso -> C:\Program Files (x86)\VMware\VMware Workstation\darwinPre15.iso
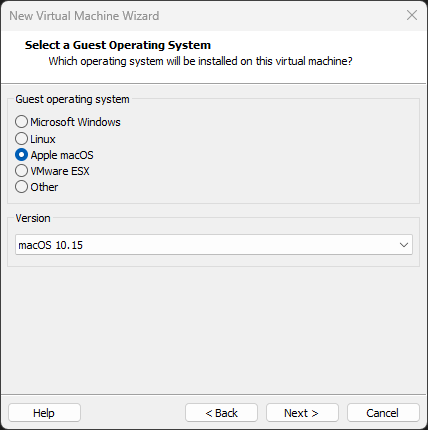
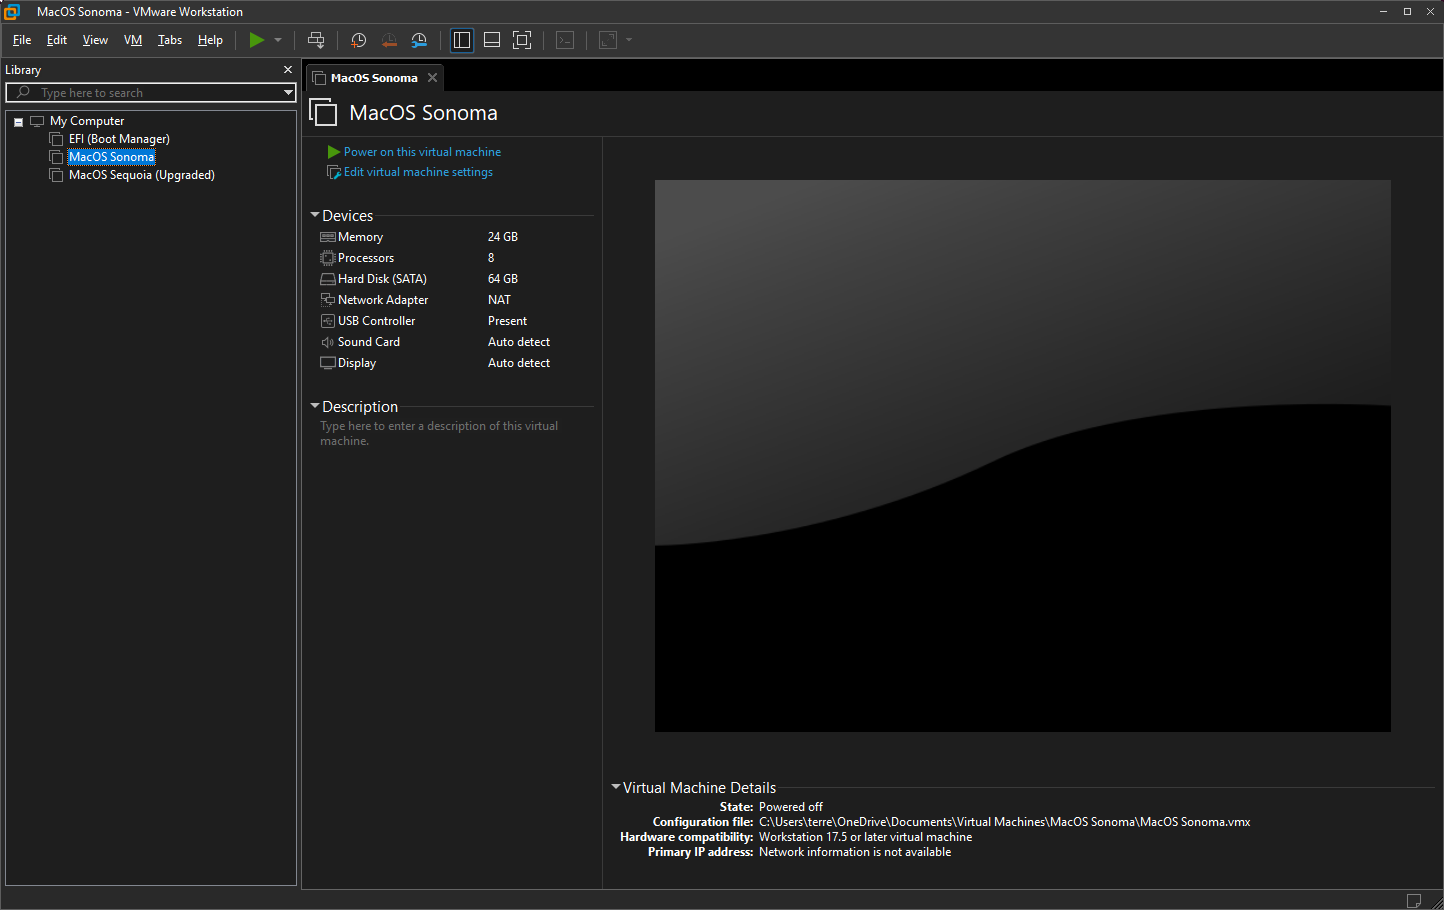
Create Virtual Machine for MacOS 14 Sonoma and update the settings
Add:
into MacOS Sonoma.vmx file.
Clone GenSMBIOS repo https://github.com/corpnewt/GenSMBIOS
1
2
3
4
5
6
7
8
9
10
11
12
13
14
15
16
17
18
19
20
21
22
23
24
25
26
27
28
29
30
$ ./GenSMBIOS.bat ####################################################### # GenSMBIOS # ####################################################### MacSerial not found! Remote Version v2.1.8 Current plist: None Plist type: Unknown 1. Install/Update MacSerial 2. Select config.plist 3. Generate SMBIOS 4. Generate UUID 5. Generate ROM 6. List Current SMBIOS 7. Generate ROM With SMBIOS (Currently Enabled) Q. Quit Please select an option: 3 Please type the SMBIOS to gen and the number of times to generate [max 20] (i.e. iMac18,3 5): MacBookPro16,4 Type: MacBookPro16,4 Serial: C..........T Board Serial: C0.............FB SmUUID: A0D50403-F256-4E17-A2EC-29964D889A1D Apple ROM: 6..........7
Copy Serial , Board Serial and Apple ROM number, apply to:
1
2
3
4
5
6
7
8
9
10
board-id = "Mac-A61BADE1FDAD7B05" hw.model.reflectHost = "FALSE" hw.model = "MacBookPro16,4" serialNumber.reflectHost = "FALSE" serialNumber = "C..........T" smbios.reflectHost = "FALSE" efi.nvram.var.ROM.reflectHost = "FALSE" efi.nvram.var.MLB.reflectHost = "FALSE" efi.nvram.var.ROM = "6..........7" efi.nvram.var.MLB = "C0.............FB"
then add above block into MacOS Sonoma.vmx file.
Based on Apple Ethernet MAC Address range https://hwaddress.com/company/apple-inc/
1 ethernet0.addressType = "generated"
to:
1
2
3
ethernet0.addressType = "static" ethernet0.address = "00:21:E9:c0:92:76" ethernet0.checkMacAddress = "FALSE"
in MacOS Sonoma.vmx file.
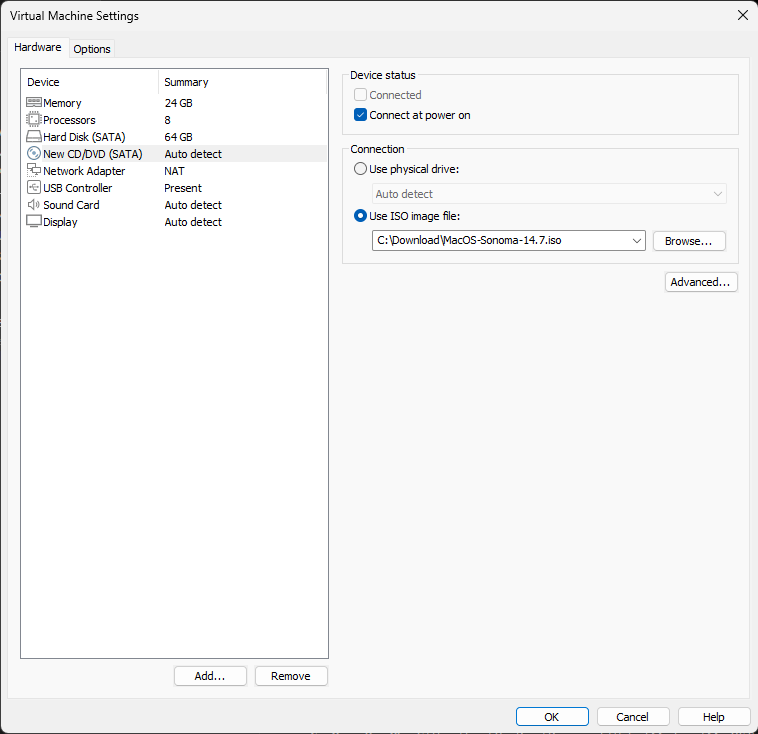
Mount MacOS ISO image and install
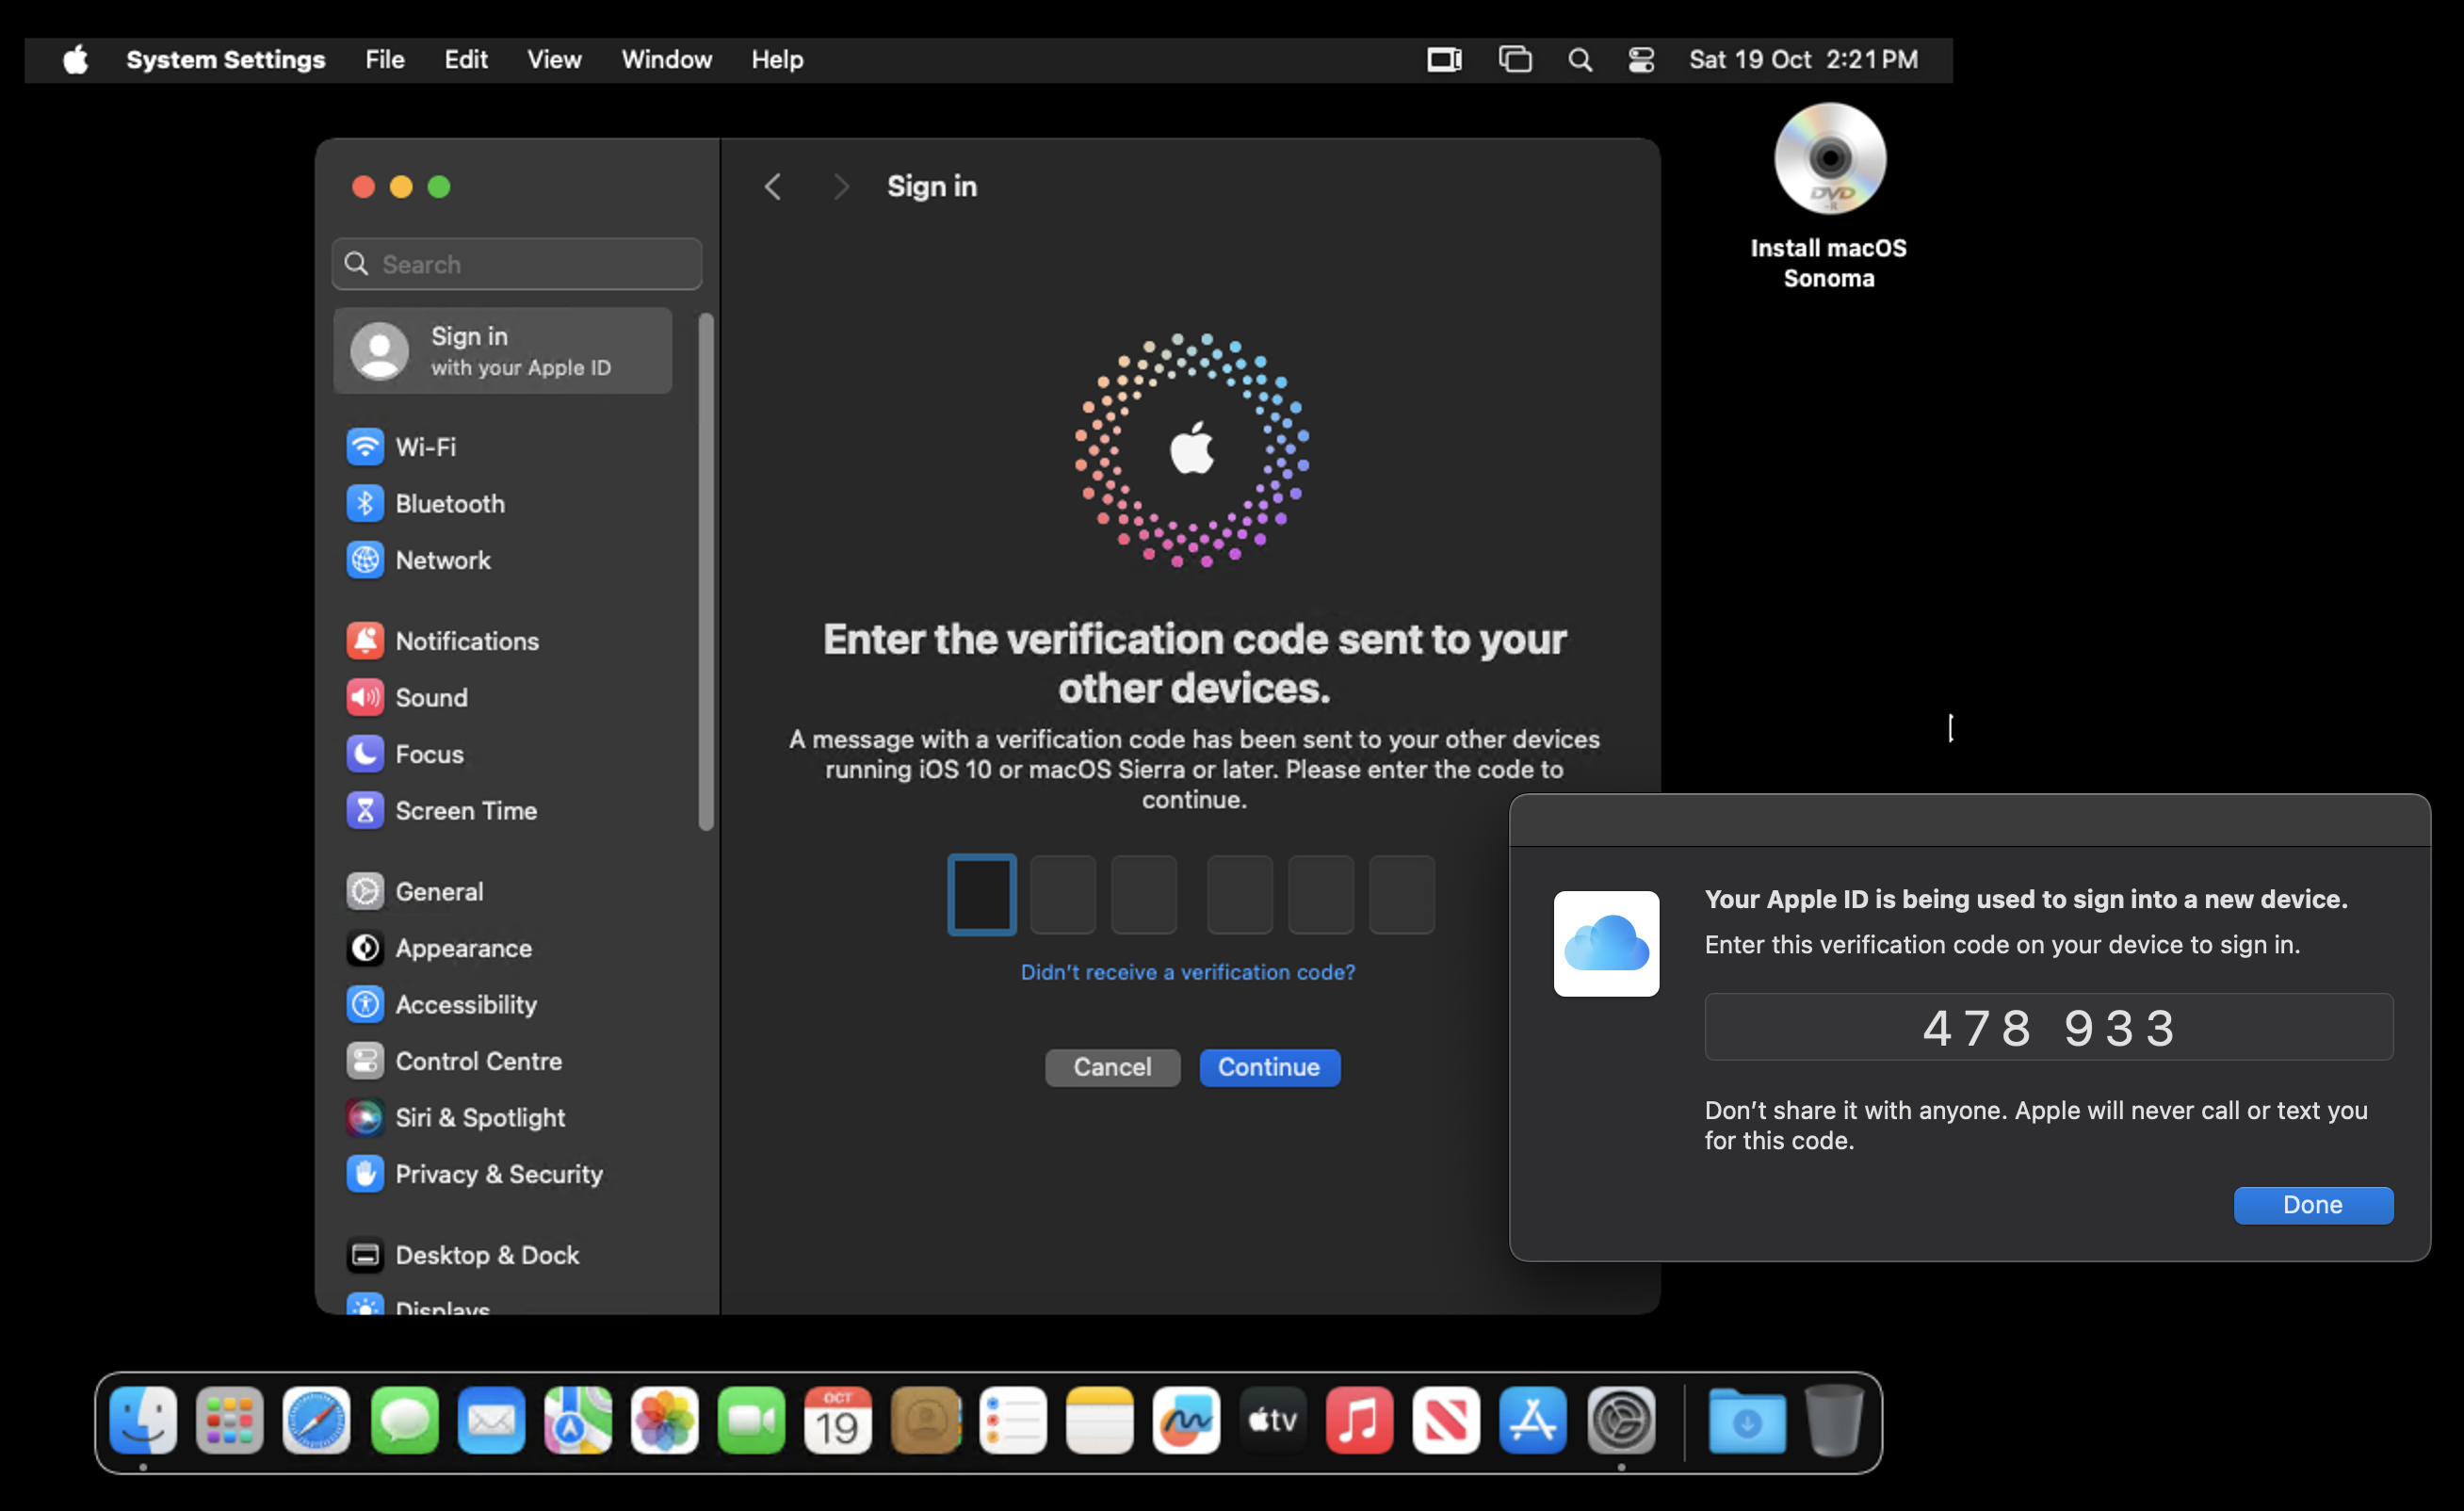
DON’T enable Location Service during the installation! Otherwise, you can’t setup Time Zone, Date Time based on your area. You can login with your Apple ID during the installation.
After MacOS installed and VM restarted, mount darwin.iso and install VMware Tools. Then Display Memory in MacOS becomes 128 MB, and support the Full Screen mode.
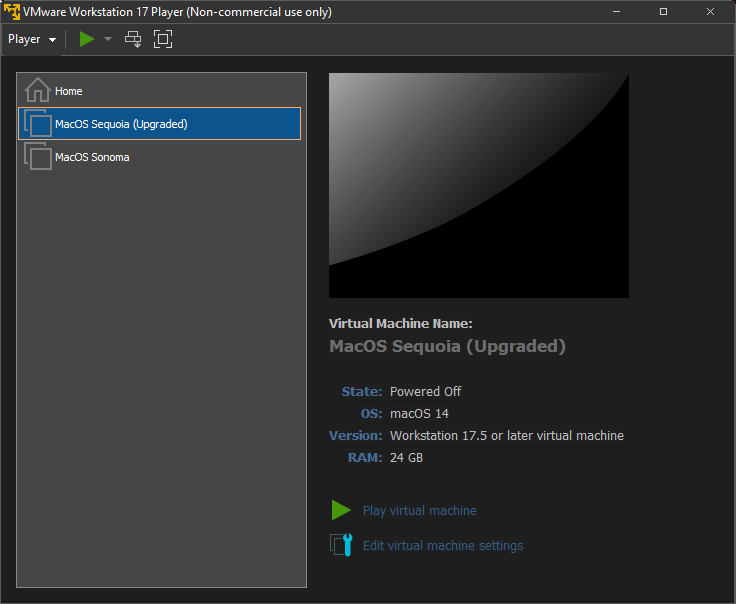
After MacOS Sonoma installed, make sure everything is OK, then copy the whole MacOS Sonoma directory to a new directory MacOS Sequoia (Upgraded) . Open the new directory in VMware, and select I copied it , then you can upgrade MacOS to latest verion in System Settings -> Software Update .
Run MacOS in VMware Player:
References
